Mini cube spy cameras are compact, discreet devices offering HD video recording, night vision, and motion detection. Their small size and Wi-Fi connectivity make them ideal for security, monitoring, and everyday use. This guide will help you understand, install, and utilize these cameras effectively for various purposes.
1.1 Overview of Mini Cube Spy Cameras
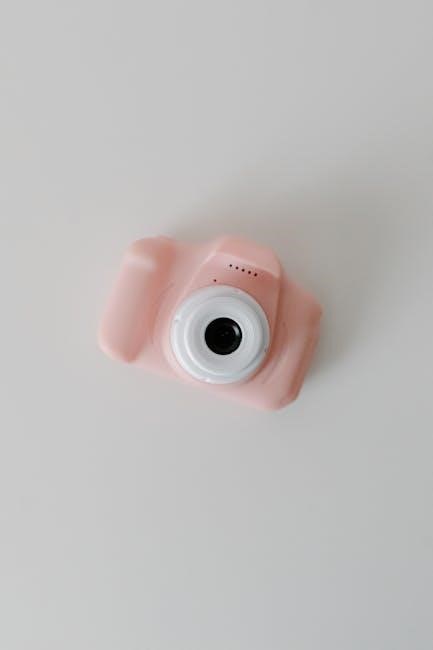
Mini cube spy cameras are small, portable devices designed for discreet surveillance. They often feature HD resolution, night vision, and motion detection, making them ideal for home or office security. These cameras are easy to hide due to their compact size and can be connected to Wi-Fi for remote monitoring. Many models come with user-friendly apps for real-time viewing and recording. Their versatility and affordability make them a popular choice for both personal and professional use, ensuring seamless monitoring in various environments.
1.2 Key Features and Benefits
Mini cube spy cameras offer HD video recording, night vision, and motion detection, ensuring clear footage even in low-light conditions. Their compact design allows for discreet placement, while Wi-Fi connectivity enables remote access via smartphones. Features like automatic recording, scheduled timelapse, and adjustable sensitivity enhance functionality. These cameras are battery-powered, making them portable and easy to install. Their user-friendly interface and compatibility with various devices ensure a seamless experience, providing reliable security solutions for both home and professional settings with minimal effort and expertise required.
System Requirements for Mini Cube Spy Cameras
Mini cube spy cameras require a stable internet connection, compatibility with smartphones, tablets, or computers, and a 2.4GHz Wi-Fi network for seamless operation and remote access.
2;1 Compatibility with Devices and Operating Systems
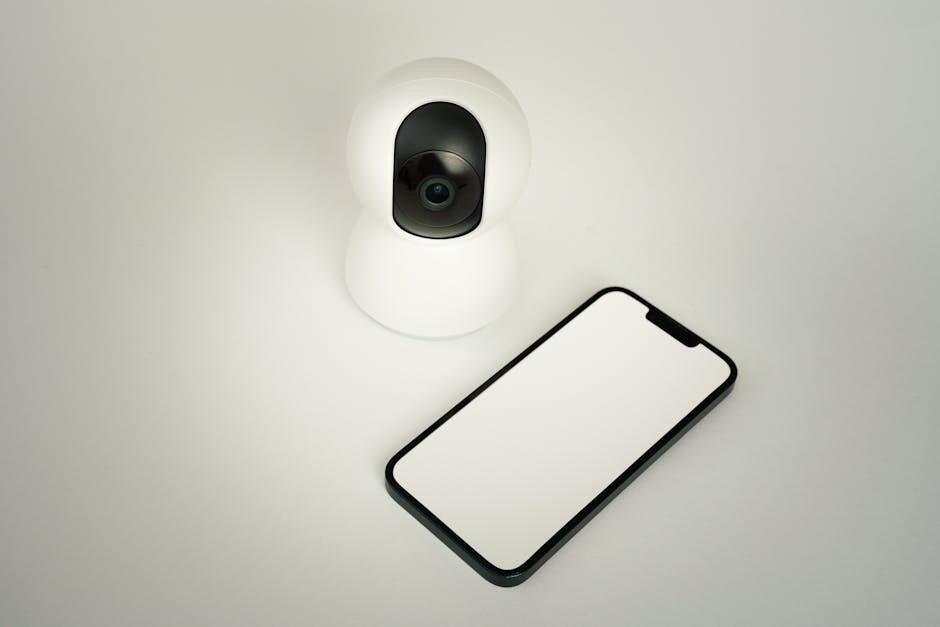
Mini cube spy cameras are compatible with iOS and Android devices, ensuring seamless connectivity via dedicated apps. They also work with Windows and macOS for web-based access. Most models support popular browsers like Chrome and Safari, allowing users to stream live footage or adjust settings. Additionally, compatibility with smart home systems like Amazon Alexa enhances functionality. Ensuring your device meets these requirements guarantees optimal performance and ease of use for monitoring and controlling the camera remotely.
2.2 Technical Specifications and Hardware Requirements
The mini cube spy camera typically features a high-definition video resolution of 1080p or 720p, with a wide-angle lens for enhanced coverage. It often includes a built-in microphone for audio recording and supports microSD cards up to 128GB for storage. The camera may utilize a CMOS sensor for clear imaging and offer night vision capabilities through infrared LEDs. Hardware requirements include a power source, such as a USB cable or battery, and may support Wi-Fi connectivity for remote access. Ensure the device matches these specifications for optimal functionality.
Unboxing and Physical Setup
Welcome to the unboxing and physical setup section. Carefully unpack the mini cube spy camera and its accessories; Begin by connecting the device and positioning it strategically for optimal coverage. Ensure all components are properly secured and placed for seamless operation. This step sets the foundation for smooth functionality and performance. Follow the instructions carefully for a hassle-free setup experience.
3.1 Unboxing the Mini Cube Spy Camera
When you unbox the mini cube spy camera, you’ll typically find the camera unit, a user manual, charging cable, and a mounting bracket. Gently remove the camera from its packaging and inspect for any visible damage. Locate the power button, memory card slot, and charging port. Handle the lens with care to avoid fingerprints or scratches. Familiarize yourself with the included accessories and ensure all components are accounted for before proceeding to the setup phase.
3.2 Physical Installation and Placement Tips
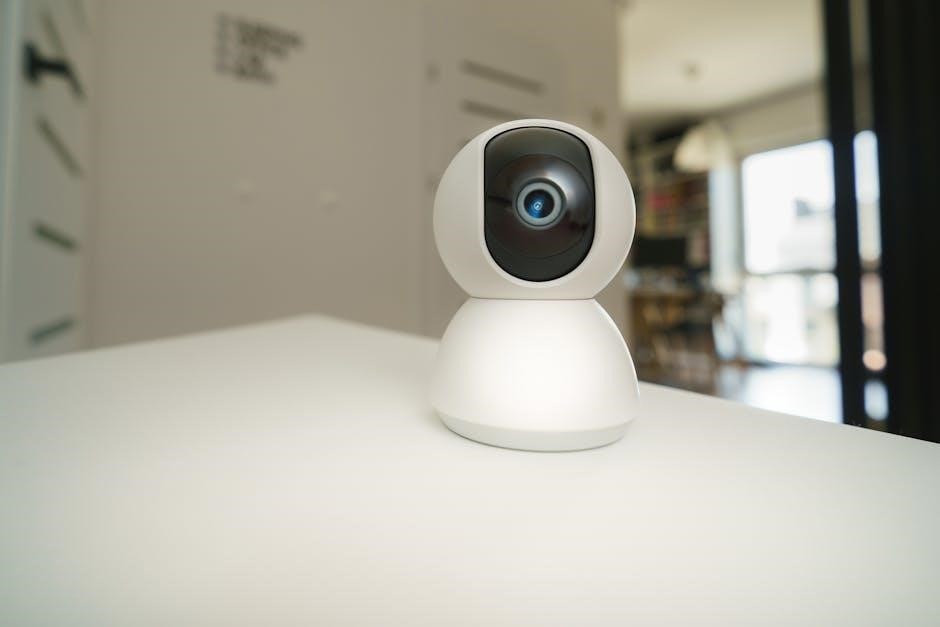
Place the mini cube spy camera in a discreet location to ensure it blends with its surroundings. Mount it securely using the provided bracket or adhesive for stability. Position the camera at eye level or slightly above to capture a wider field of view. Ensure it faces the area you want to monitor and is not obstructed by objects. For optimal performance, keep it within 10 feet of a power source and avoid exposing it to direct sunlight or moisture.
Connecting the Camera to a Wi-Fi Network
Access the camera’s settings via the app, select your Wi-Fi network, and enter the password to establish a secure connection for remote monitoring.
4.1 Steps to Connect to a Wireless Network
To connect your mini cube spy camera to a Wi-Fi network, open the camera’s app and navigate to the Wi-Fi settings section. Select your desired network from the available list and enter the password when prompted. Ensure the camera is in pairing mode, typically indicated by a flashing LED light. Once connected, you’ll receive a confirmation message. For optimal performance, ensure the camera is placed within range of your router and avoid physical obstructions that could weaken the signal.
4.2 Troubleshooting Wi-Fi Connection Issues
If your mini cube spy camera fails to connect to Wi-Fi, ensure the network name and password are entered correctly. Restart both the camera and router to refresh the connection. Move the camera closer to the router to improve signal strength. Check for network congestion or interference from other devices. Verify the camera’s firmware is updated, as outdated software can cause connectivity issues. If problems persist, reset the camera to factory settings and attempt the connection process again.

Functionality and Features
Explore the mini cube spy camera’s advanced features, including high-definition video recording, motion detection, night vision, and two-way audio communication for enhanced surveillance capabilities.
5.1 Motion Detection and Alert Settings
The mini cube spy camera offers advanced motion detection, triggering alerts via email or app notifications. Users can adjust sensitivity levels to minimize false alarms and customize detection zones. Enable alerts only during specific times or events, ensuring you receive notifications that matter. The camera also supports scheduled monitoring, allowing you to activate motion detection during certain hours. These settings enhance security by providing real-time updates and reducing unnecessary notifications, ensuring efficient surveillance.
5.2 Night Vision and Low-Light Performance
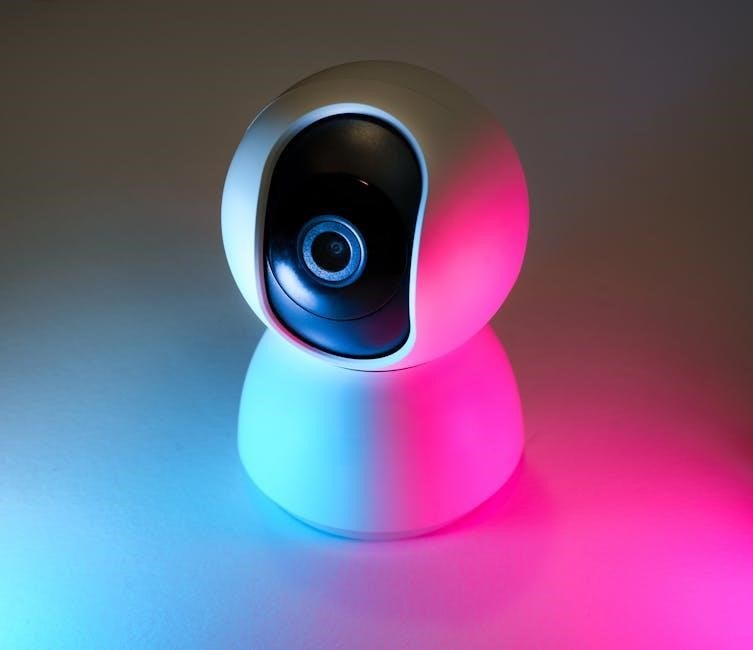
The mini cube spy camera excels in low-light conditions with built-in infrared LEDs, enabling clear night vision up to 16 feet. The camera automatically switches to night vision mode in dim environments, ensuring continuous monitoring. It also performs well in low-light settings without night vision, capturing usable footage even in faint illumination. Users can toggle night vision manually or rely on auto-mode for seamless adaptation to lighting changes, making it ideal for 24/7 surveillance in various environments.
5.3 Video Resolution and Quality Settings
The mini cube spy camera offers high-definition video recording, typically supporting resolutions like 1080p or 720p. Users can adjust the video quality to balance clarity and storage needs. Higher resolutions provide sharper images but consume more memory. The camera may also feature frame rate customization and compression options to optimize performance. For clear footage, ensure proper lighting and positioning. Adjusting these settings via the app allows for tailored video quality, enhancing monitoring capabilities while managing storage efficiently.
Operating the Mini Cube Spy Camera

Operating the mini cube spy camera is straightforward, with intuitive controls for starting and stopping recording. The camera’s app provides remote monitoring and easy access to settings.
6.1 Starting and Stopping Recording
To begin recording, press the power button until the LED light turns on. Use the app to initiate recording remotely. To stop, press the button again or pause via the app. The camera features automatic recording start-up when motion is detected. Ensure the device is powered on and connected to Wi-Fi for seamless operation. Always check storage availability before recording. Stopping recording will save the footage for later review. The process is user-friendly and efficient, ensuring minimal interruptions.
6.2 Using the Camera’s Indicator Lights
The mini cube spy camera features indicator lights that provide status updates. A steady green light indicates the camera is in standby mode, while a red light signals active recording. A blinking blue light shows Wi-Fi connectivity attempts, and a yellow light indicates low battery or charging status. These lights help users monitor the camera’s operation without accessing the app. Understanding the indicator lights ensures proper functionality and discreet operation. Always refer to the lights for quick status checks.
6.3 Accessing and Retrieving Recorded Footage
To access recorded footage, open the accompanying app and connect to the camera’s feed. Navigate to the video gallery section to view stored recordings. Select desired clips to download them directly to your device. For external storage, transfer files to an SD card or cloud storage. Ensure the camera is connected to the internet for cloud access. Regularly back up footage to avoid data loss.

Advanced Settings and Customization
Customize your mini cube spy camera with tailored settings for enhanced functionality. Adjust motion sensitivity, set up detection zones, and schedule recordings for specific needs. Personalize alerts and optimize performance for different environments.
7.1 Scheduling Recordings and Timelapse
The mini cube spy camera allows you to schedule recordings at specific times or intervals. Set a daily or one-time schedule for automatic recording sessions. Use the timelapse feature to capture images or videos at regular intervals, ideal for monitoring long-term activities without continuous recording. Customize the duration and frequency of recordings to suit your needs, ensuring efficient storage and focused monitoring.
7.2 Adjusting Sensitivity and Detection Zones
Customize motion detection by adjusting sensitivity levels to minimize false alerts. Define detection zones to focus on specific areas within the camera’s view. Use the app to draw or select regions where motion should trigger alerts. Lower sensitivity reduces unnecessary notifications, while higher settings detect even slight movements. This feature optimizes alerts for your environment, ensuring accurate and relevant notifications tailored to your security needs.

Maintenance and Care
Regularly clean the camera lens with a soft cloth to maintain clarity. Update software periodically for optimal performance. Store the device in a dry, cool place to prevent damage.
8.1 Cleaning and Updating the Camera
Clean the lens gently with a microfiber cloth to avoid scratches. Regularly check for firmware updates via the app or manufacturer’s website; Updating ensures improved functionality and security. After updating, restart the camera to apply changes. Avoid using harsh chemicals or abrasive materials, as they may damage the camera. Always follow the manufacturer’s guidelines for maintenance to preserve performance and longevity.
8.2 Battery Management and Charging
Charge the battery fully before first use to ensure optimal performance. Use the provided USB cable and avoid overcharging, as it may reduce battery life. The camera typically takes 2-3 hours to charge fully. Check the LED indicator for charging status—red for charging, blue for fully charged. For extended use, consider purchasing a spare battery. Store the battery in a cool, dry place when not in use to maintain its longevity and efficiency.

Legal and Privacy Considerations
Understand local laws regarding surveillance to avoid legal issues. Always ensure consent when recording individuals to respect privacy and maintain ethical standards while using the camera.
9.1 Understanding Local Laws and Regulations
Before using a mini cube spy camera, research and understand local laws and regulations regarding surveillance. Laws vary by region, and some areas restrict the use of hidden cameras; Ensure compliance with privacy laws to avoid legal consequences. Familiarize yourself with specific rules about recording in public or private spaces. Consulting with a legal expert can help clarify any uncertainties and ensure responsible use of the device.
9.2 Ensuring Privacy and Ethical Use
Always prioritize privacy and ethical considerations when using a mini cube spy camera. Inform individuals they are being recorded, especially in private spaces. Avoid placing cameras in sensitive areas like bathrooms or bedrooms. Secure footage to prevent unauthorized access. Use the camera responsibly and transparently, ensuring its purpose aligns with ethical standards. Misuse can harm trust and relationships, so employ the device with integrity and respect for others’ privacy rights.
Troubleshooting Common Issues
Check connectivity by restarting the camera and router. Ensure proper power supply and update firmware. Clear storage if recording fails. Reset if issues persist.
10.1 Diagnosing and Resolving Connectivity Problems
To resolve connectivity issues with your mini cube spy camera, first ensure it is connected to a stable Wi-Fi network. Restart both the camera and router. Check for any physical obstructions or distance issues affecting signal strength. Verify that the camera is configured to the correct network and that the Wi-Fi password is entered correctly. If problems persist, perform a factory reset or update the camera’s firmware to the latest version. Ensure all settings are properly synchronized with your device.
10.2 Fixing Recording and Playback Issues
If the mini cube spy camera fails to record or play back footage, start by checking the storage capacity and ensuring the SD card is properly formatted. Verify that the camera is set to record in the correct mode and that motion detection settings are enabled. Restart the camera and ensure a stable power supply. If issues persist, check for firmware updates or restore default settings. Ensure the SD card is compatible and functioning correctly. Finally, review the video quality settings to ensure optimal performance.
Resetting the Camera
Resetting the mini cube spy camera involves pressing and holding the reset button until the indicator flashes, restoring default settings. Reconfigure the camera afterward for proper functionality.
11.1 Performing a Factory Reset
To perform a factory reset on the mini cube spy camera, locate the small reset button on the camera’s base. Use a pin or thin object to press and hold the button for 10-15 seconds until the indicator light flashes. Release the button when the light turns blue or green, indicating the reset process has begun. The camera will restart, restoring all settings to their original factory configuration. Note that all custom settings will be lost during this process.
11.2 Restoring Default Settings
After performing a factory reset, the mini cube spy camera will automatically restore its default settings. Ensure the device is powered on and connected to a stable power source. The camera will reboot, and all settings, including Wi-Fi configurations and motion detection preferences, will revert to their original state. Once the reset is complete, you can reconfigure the camera according to your preferences through the companion app. This process ensures optimal performance and eliminates any software-related issues.
This guide has provided comprehensive instructions for using and maintaining your mini cube spy camera. By following these steps, you can maximize its functionality and ensure optimal performance for enhanced security and peace of mind.
12.1 Final Tips for Effective Use
To ensure optimal performance, regularly update the camera’s software and clean the lens for clear footage. Place the camera in areas with stable Wi-Fi coverage and minimal obstructions. Always check local laws before using the camera to avoid legal issues. Use night vision and motion detection features wisely to conserve battery life and reduce unnecessary alerts. Experiment with placement angles to capture the best field of view for your needs. By following these tips, you can maximize the camera’s effectiveness and enjoy reliable monitoring.
12.2 Summary of Key Instructions
For effective use, start by unboxing and physically installing the camera in a strategic location. Ensure proper Wi-Fi connectivity and compatibility with your devices. Utilize features like motion detection, night vision, and high-quality video resolution. Regularly clean the lens and manage battery life for optimal performance. Always adhere to legal and privacy guidelines to avoid ethical issues. This guide provides comprehensive steps to help you maximize the functionality and efficiency of your mini cube spy camera.